Hobbyist Forums banner

How to make clear glass for 1:64 scale HO

6.1K views 19 replies 9 participants last post by  coach61  
#1 ·
Hello all,
I am new to this board but, one thing i noticed is that tips and tricks are shared openly here. I think that makes for a good board. That has not been the case with other slot car boards i have been a member of.

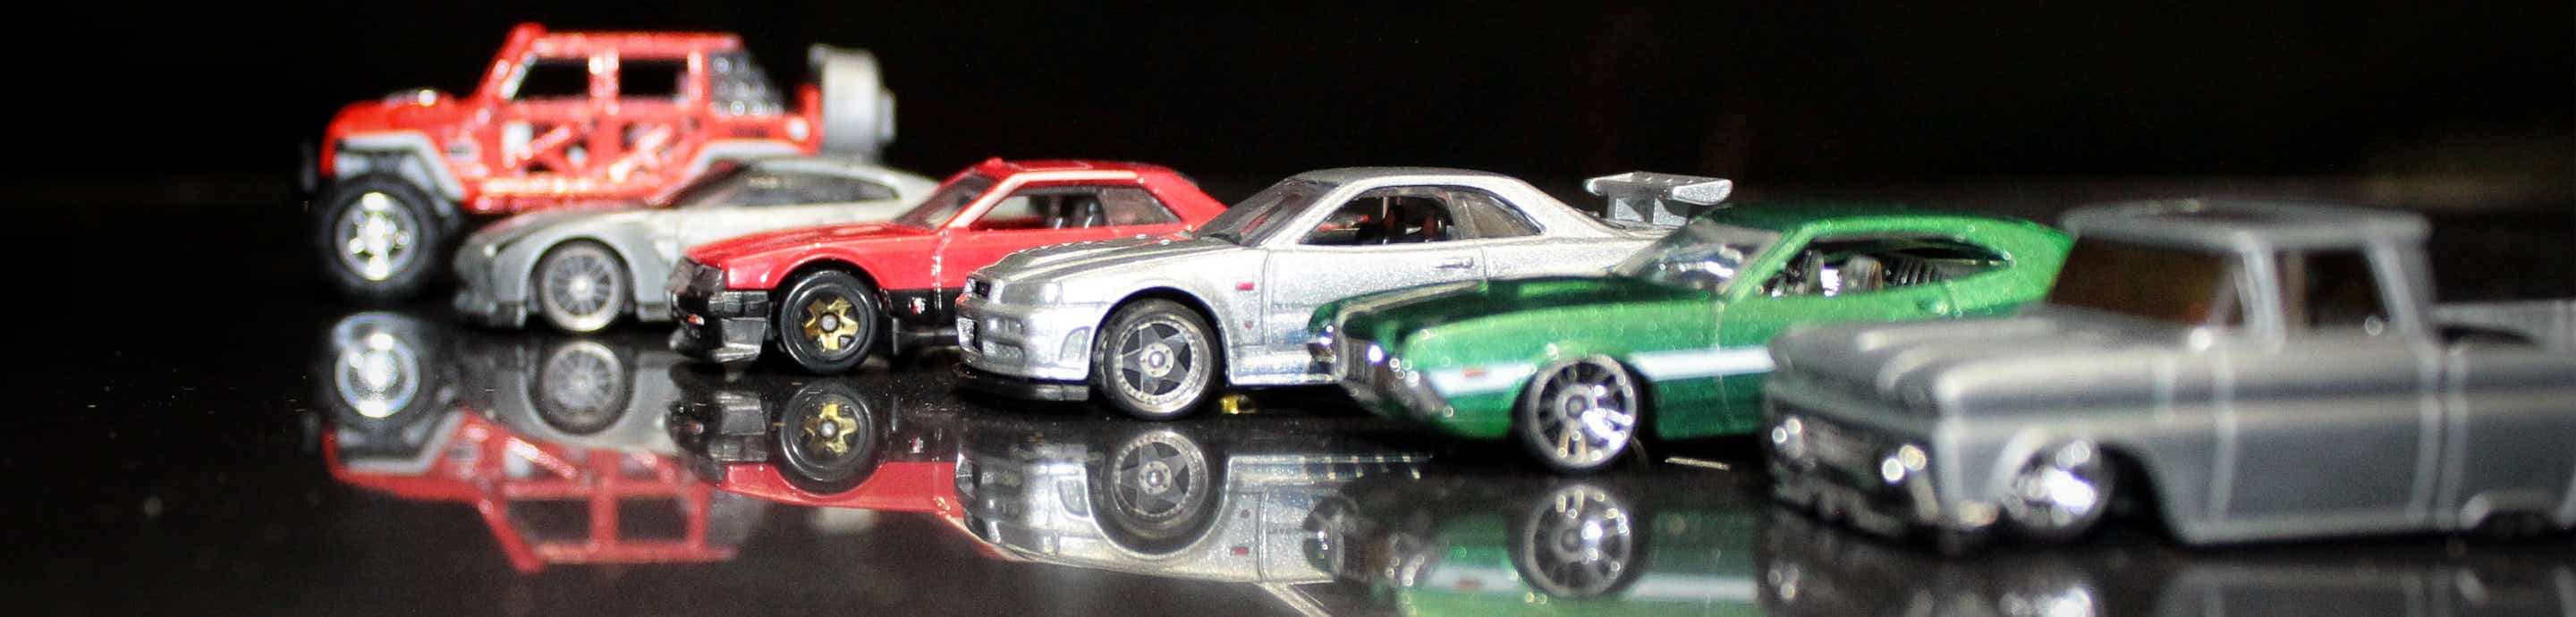
I have been looking for a way to make clear glass for my 1:64 scale HO cars but, when i searched the archives of this board i only noticed direction regarding vacuum forming. Is there a way to make a good cast using "clear" resin? (Regarding clear resin, the only setback i have heard is that it is tough to get the air bubbles out unless you have a vacuum chamber to remove them). I heard this from the Alumilite customer service people.

Any thoughts?

Thanks,
-noir
 
#2 ·
The reason there is not a lot of talk about casting clear windows is very few people do. One you have to pressure cast clear to get the bubble out. Two the resin is dangerous and you must be careful with it ie, the vapors and it takes hours to cure vice mins. Also to get crystal clear glass you must ave a master tah is absolutley perfect and shines like a 10,000 paint job.

Now lets say you can live with clear but not crystal clear, you can make a two part mold and use the Color Cast resins that you have to add pigment too. These must be pressure cast but will come out good.

I sometimes cast the entire body like this, then mask the glass and paint.

Roger Corrie
Virginia Beach, VA
 
#3 ·
Greetings;

I do cast clear glass with the Smooth-On kit.I use a NIOSH breather & have a blower hooked up to expel the vapors.Works well as I have no headaches afterward.I try to keep the bubbles to a minimum using a disposable brush. But there tend to be some bubbles .Usually they are not noticable unles you look real close.I will look into pressure casting or using a vacuum pump.Perhaps some body could share their experience.

Neal Abramson
 
#4 ·
One thing I've seen folks use for glass was to use Tic-Tac containers. Just cut out the piece(s) you need, put in some hot water for a few minutes, gently bend the piece to fit your car, run cold water on it to solidify, glue into place, and there's your glass.......just watch those glue fumes :drunk: :freak:
 
#5 ·
I agree with Roger. Of the cars we offer at slotcarinnovations, only one right now has a clear resin glass part. I also include a vacuformed part as well. Its the 289 FIA Shelby Cobra shown on our site. I have been meaning to find out customer preference on open top cars - vac formed or clear resin. For closed bodies, vac form is much easier.

We are currently pressure casting aluminite clear. Due to the humidiy and temp this summer, each batch of glass I make is different. They are made from polished masters and are "near clear", but only after a little polishing and coating/dipping in Future floor wax. Out of the mold they are still a big fogged, but no bubbles. Not only are highly polished masters required, but silicone quality is very important. Mold life with clear resin is very short compared to regular resin - meaning more involved mixing/vacuuming/pressure castings is required. CONSISTENT clear parts are definitely the most difficult thing I have been challenged with thus far. I may in the future try the smooth on product. Any one use it and find it any better than alumilite? (I have the necessary NIOSH approved gear and ventalation)

Comments appreciated

Richard Picard
www.slotcarinnovations.com
 
#7 ·
Any ever try the liquid glass from Testors? I have a tube actually but am so far behind on projects because of deadlines and travel I have not had a chance to look at it. if ity works please let me know for obvious reasons...lol..


Dave
 
#8 ·
I'm not sue but isn't it just like Krstal Kleer from either Squadron or MicroMark. If it is it is very similar to Elmers white glue. I have taken a body cut out the windows and stuck the body back in the mold and brushed on the Krstal Kleer. It give you a good opaque glass That shines real nice after brushing on some Future. I do this on my Rat Rods. I have also used 5 min epoxy but I still get the small air bubbles and a yellowish tint.

Roger Corrie
Virginia Beach, VA
 
#9 ·
Just my 2 cents...An old model car builder friend once told me that to get an idea of the "scale" of a part, he uses a driver figure from an Indy model (1/25th) . The drivers "hand" should be like our hand in 1/25th scale...Therefore , any part that looks right in the drivers hand, should be close to scale. Ever look at the thickness of a model "glass"? It would be 4 inches thick if it were OUR size. The model companies make their glass thick for reasons of convience. So it won't bend, scratch, etc..And glue with model glue. We have come a long way with glues now. Anyway, my point is,there is nothing wrong with the scale thickness of lexan. Its not actually scale, but a lot closer to scale in my opinion...Tom
 
#10 ·
You are right, there is nothing wrong with Lexan. Matter of fact, i realize that at the end of the day, i may have to bite the bullet and go Lexan for my glass. I guess the reason i don't want to go vacuum form is time and cost. The cheapest way i have found is to make the vacuum form machine yourself. But, Lexan sheets, the frame materials, the vacuum machine, all that cost just for a 1:64 scale glass? Just seems to be a bit much (in my admitted novice opinion). I was hoping to stick with resin or some other simple method just to keep the processing of each car as simple as possible.

-noir
 
#14 ·
Joez,
What size frame and Lexan sheet do you use? Most of the pics i have seen of guys vacuum forming cars shows an 11"x11" sheet of Lexan applied to a 1:64 scale car. Can the sheet be reused or does the rest of the sheet go to waste?

-noir
 
#15 ·
Noir,

If Joe has a Matel Vac-u-form machine it is not lexan. Its Burite i believe or something similar sounding name. I have one and the sheets are small:

http://cgi.ebay.com/VAC-U-FORM-vacuform-CLEAR-SHEETS-for-MATTEL-BONUS_W0QQitemZ5989648781QQcategoryZ1

With 4 mASTER molds you can make 4 pieces of glass at the same time or 1 whole body. The sheets work out to .70 each.

Do a search on ebay for a vac-u-form. You can normally get a buy me now for $100.00 or be patient and pick one up for under 50.00

Roger Corrie
Virginia Beach, VA
 
#16 ·
Noir, Try this if you want a mold for your "glass" Put masking tape on the outside of the body, covering the window openings . If the shape is curved, just tug at the tape to make it look similar to the opening. Add layers of tape for support if you want...This will be the "seal" for the mold. Now turn the body over and fill the area from the inside with Plaster of Paris or my favorite , Hydrocal . Make the mix of water & plaster thick so it will dry quicker & not run under the tape...after this mix has dried, sand to shape, checking your progress by putting the mold in to the window molding..When you are satisfied with the mold for the window, move on to the plastic ..Lots of blister packing is done these days , so find a large piece of clear plastic from a package & heat a piece over a candle or simurge in hot water to make the plastic pliable. I have used a potato chip bag "clip to hold the hot plastic or a clothes pin works too. After the plastics hot, stretch it over your new window mold & cut to fit. With a little practice & sanding, you can make the mold a little smaller & the plastic piece will go into the window opening from the inside & fit flush with the outside...Hope this helps Noir......Tom
 
#19 ·
Just wanted to make sure that the tip i received from Claus Heupel (via e-mail) got it's full credit on the board. Since it looks similar to the method Tom mentions above, it must work great.

Thanks again for the tip Claus!!

-noir


Hi there!

I´m using a method commonly known as "heat stretching" for my glass
parts. It´s plain simple: You make a "male" (i.e. positive) mold of the
glass inlay (e.g. from the diecast piece), mount that mold on a thinner
base and fix it in a vise.

Then just pull an oversized piece of PVC foil (blister packages often
work great) over that mold after you have heatened that piece (a
candle´s flame works fine).

Voilà, that´s it. Got it?

Have fun pulling your own windows!

Greetings from Germany,

Claus

www.c-jet500.de.vu
 
#20 ·
Thanks for sharing these tips guys! Clause's sounds like even I could pull it off, but that would lead to trying resin, then injection molding and I"d have to stop writing and get a real job.....naaa.....


Dave